Blues Jr head project

General Gear Discussion - effects, synths, etc.

Moderator: Ghost Hip

User avatar
Adamadamadam
committed
committed
Posts: 114
Joined: Thu Apr 14, 2016 11:12 am
Location: The Land of Enchantment

Blues Jr head project

Post by Adamadamadam »

So I'm back after a few-month internet hiatus, and I want to show off share my Blues Jr head project in case someone else finds it useful/inspirational. This has been 'in progress' for several years (I don't think I've had the amp's cab for at least five), but I've only recently started working on it in earnest.

The amp itself has been pretty heavily modified. So far I've done:
- tone stack mod (mids function like a twin's)
- adjustable bias
- cathode follower
- on/off footswitch for reverb
- presence control
- C10 has a jumper (possibly related to oscillations?)
- longer reverb tank
- chassis has been re-drilled and tube board has been re-oriented, so the tubes are on the same face as the transformers

And maybe a few other things. I went through most of the easier/bang-for-buck stuff on Bill M's page, but I didn't take good notes. Like I said: I've been working on this amp for a while.

So now I'm making a proper head cab for the thing. The cabinet itself isn't anything fancy: it's just 1x8 select pine (you know, for tone( :whateva: )) from Home Depot, put together with butt-joints and then doweled. The joinery looks like shite because a) my cabinetry skills are weak and b) it was going to be tolexed anyway. The pine was a bit warped, and to square everything up I needed to reduce the total depth from it's original 7.5" to about 7". It's not ideal, because some of the knobs and switches will protrude further than the cab, but so be it. If I could do it again with 1x10 I probably would. :idk:

Here's the cab, ready to be tolexed. Overall dimensions are about 18" wide, 7.5" tall, and 7" deep. It's very snug to the B Jr chassis, and as a point of reference is a bit smaller than a Sovtek Mig 50.

Image

Image
User avatar
Adamadamadam
committed
committed
Posts: 114
Joined: Thu Apr 14, 2016 11:12 am
Location: The Land of Enchantment

Re: Blues Jr head project

Post by Adamadamadam »

Started up the tolexing. I happened to have enough left over from a 1x12 project (still in progress) to cover it in one piece, so that worked out well. I also can't speak to the longevity of the glue. I only applied it today, and I don't as of yet have any concerns, but take it for what it's worth.

Tl;dr: pick a glue that can bond wood to plastic, and RTFM.

For the glue I used original DAP Weldwood, and while I've read some forum posts on other sites about folks having trouble with contact cement, I think it's a case of following instructions. I've never tolexed before, but I would have no reservations recommending it so someone else. Just make sure that you:
a) Dry-fit like it's your job. Know where any seams and bends are going to end up, mark them, and stick to the markings. The way (DAP, at least) works is you apply adhesive to both surfaces, let them sit for 15-20 minutes, and then press the surfaces together to bond them. You really only have one chance to bond the two surfaces, but they can be re-wetted so it's really very forgiving, and if you mess up it's almost definitely because you didn't plan/dry-fit well enough.
b) Don't rush. I applied glue to the pine, then the tolex, and then another layer to the pine, and then let it sit for 20 minutes. Weldwood has a working time of 2 hours so there's no need to rush (your adhesive product may vary), and it really, really needs the time to set-up. I suspect a lot of the negative reviews for contact cement in this application are from people who tried to cheat the set-up time. Apply the cement, watch an episode of something, and then come back to it.

Also, contact cement fumes are no joke. Do this in a well ventilated area.

I did the top, the sides (separately), and then the bottom, where the joint in the tolex would be. Before I even bought glue I figured out where I wanted the seam and how much overlap there would be, and then I marked everything on the backside of the tolex so I'd know exactly where to apply the glue. Again: figure this all out before you glue anything.

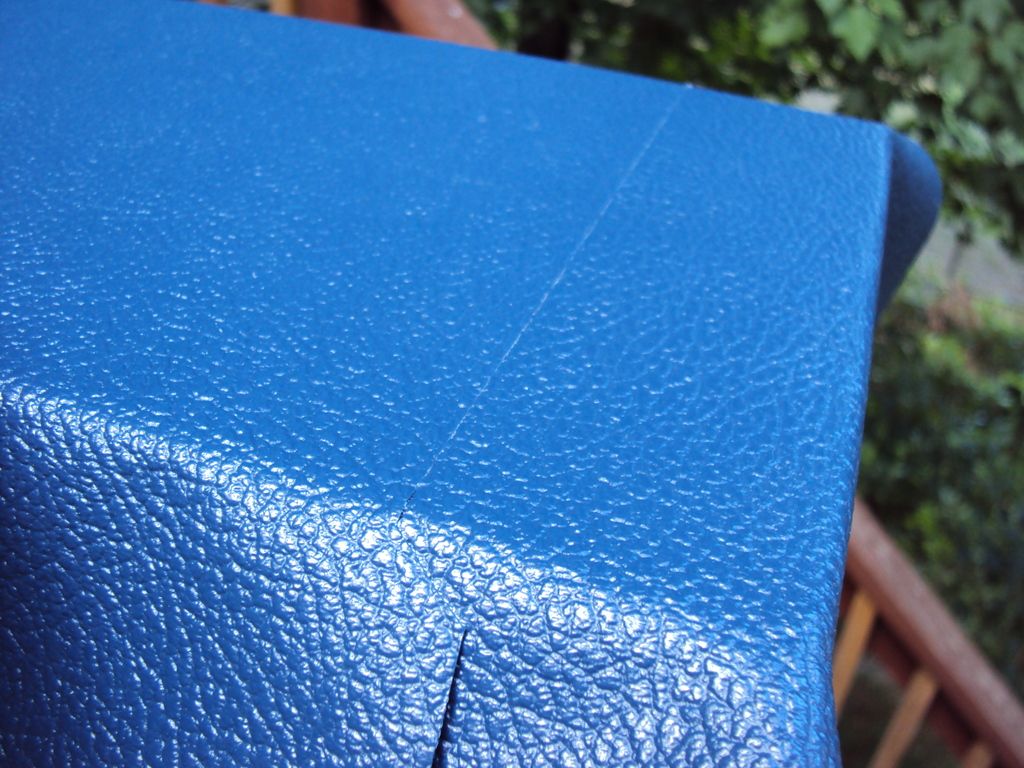
When gluing up the seam I secured the short side, covered it with painter's tape, and then brought the long side over. I found where I wanted the joint and, using a metal square, ran a brand-new utility knife blade through the tolex/tape/tolex sandwich and into the wood underneath. Then I was able to peel back and discard the overlapping vinyl and tape (the tape prevented glue from getting on the short-side of the vinyl), giving me a perfect butt joint.

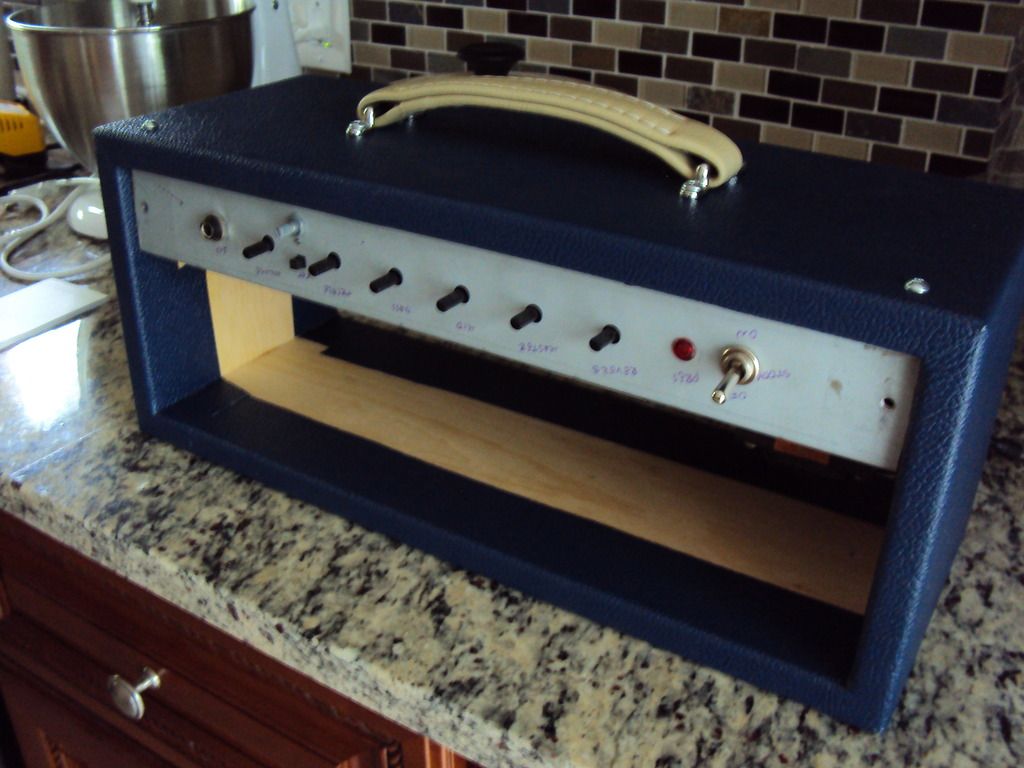
Again: I've never tolexed before, but here it is in full sunlight (the tolex is dark blue in everything except direct sun). The two edges still overlap where the roundover starts, because I've only glued the flat faces of the cab. I should be able to have the rest of the tolex glued on by the end of the week, and will hopefully have another post up whenever that happens.

Image

Image

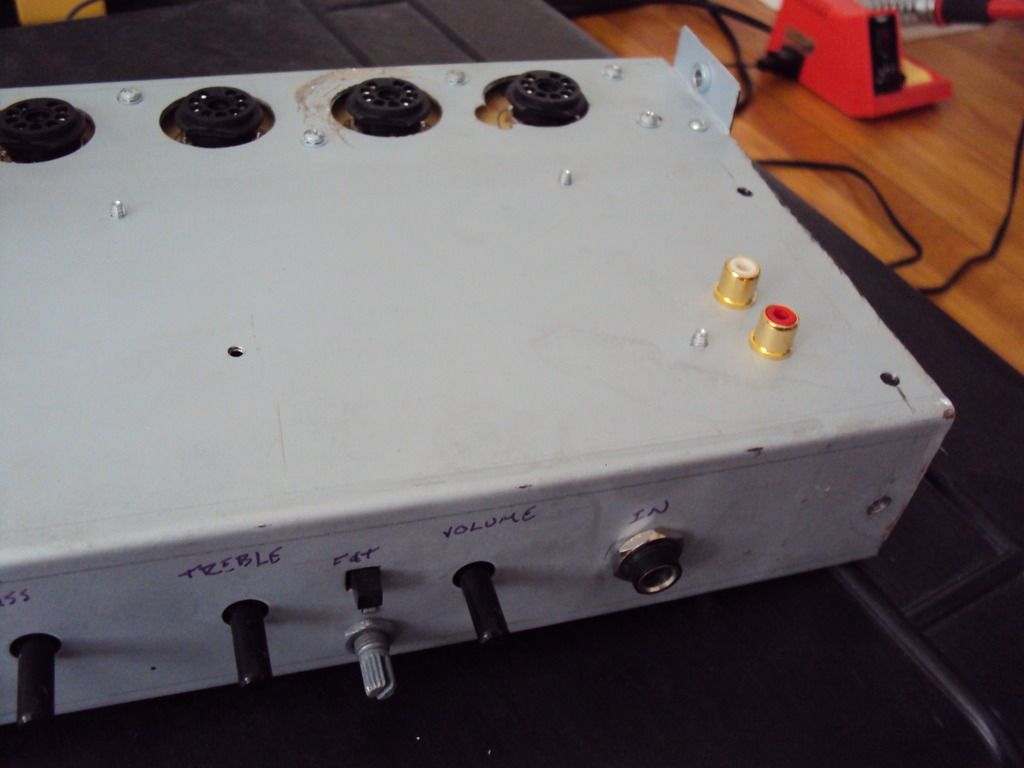
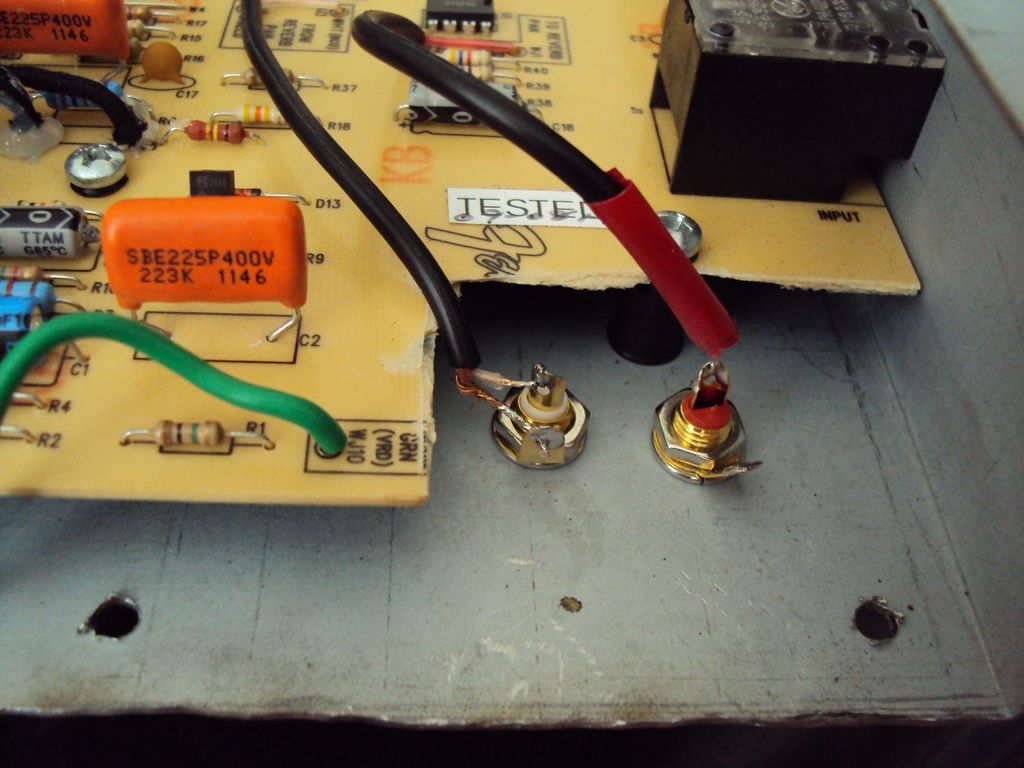
Next update: finish tolexing; chassis/pcb pictures, hardware (?).
User avatar
culturejam
Supporter
Supporter
Posts: 2381
Joined: Sun Jun 28, 2009 5:25 pm
Location: Nueva Yersey

Re: Blues Jr head project

Post by culturejam »

Awesome!
Disclaimer #1: Co-Founder, Product Developer at Function f(x).
User avatar
Boxbie
experienced
experienced
Posts: 654
Joined: Wed May 04, 2011 9:32 pm
Location: SYDNEY
Contact:

Re: Blues Jr head project

Post by Boxbie »

:snax:
User avatar
Adamadamadam
committed
committed
Posts: 114
Joined: Thu Apr 14, 2016 11:12 am
Location: The Land of Enchantment

Re: Blues Jr head project

Post by Adamadamadam »

The tolex is finished, and I'm pleased as punch with how it turned out. It's not 100% perfect, but I think it would be tough to do much better. The top left corner has a bit of a space in the seam I measure at about .6mm, and the rear seam is goofed a little but, but it shouldn't be anything a superfine blue sharpie can't fix. Again, I made the cuts with a square and after the glue was applied, then peeled back and removed the excess tolex. It doesn't seem like the sticking-unsticking-resticking negatively impacted the weldwood's ability to hold.

Here it is with the chassis installed. The screws on top will probably be replaced with something a little better looking (flat head w/ finishing washers), but these are what I had on hand in 10-32. It's also hard to see here, but the screws for the handle (zinc plated) don't match the rest of the handle hardware (chromed). Once I have all the hardware sorted out I'll knock the gloss off the zinc by letting it sit for a little while in vinegar (also a protip for getting new screws/bolts to match an old amp). Sorry the pic's blurry. The off-center pot above the fat switch is the presence control.

Image

I had to grind about 1/16" of each side of the chassis, which isn't easy if you don't have the right tools and, incidentally, I don't. I still need to take off a bit more from one of the faces. I thought I could get away with leaving it as-is, but it took more pressure than I'd like to slide it in. So yeah, if you do something like this, make the headshell 1/8" wider than the chassis and you should be fine.

Image

The reverb tank isn't shown, but it's a little bit wider than the total space taken up by the tubes. I still need to sort out the cord for the reverb tank. The original hole in the chassis for the wires is now taken up by the leftmost preamp tube, and I'll probably try to find some space for a pair of panel-mount rca connectors. Failing that I'll drill another hole to run the wire through.

Image

Image

So there it is for now. I haven't totally figured out the control panel situation yet, but I think I've decided on cherry for the dead space below the chassis in the front. Should look nice with the blue and will only get better as it darkens over time.
User avatar
JonnyAngle
IAMILFFAMOUS
IAMILFFAMOUS
Posts: 4233
Joined: Wed Feb 25, 2015 11:35 am
Contact:

Re: Blues Jr head project

Post by JonnyAngle »

That's clean.

what if you made a 1 piece wood front? So you would have the holes and control labels in the top portion and it would continue all the way down.
User avatar
Adamadamadam
committed
committed
Posts: 114
Joined: Thu Apr 14, 2016 11:12 am
Location: The Land of Enchantment

Re: Blues Jr head project

Post by Adamadamadam »

Thanks a bunch. I was actually originally thinking of doing a one-piece front, and then I guess I changed my mind for some reason. I did a mockup with pine for just the lower half and I like it, but I'm not really in-like with it. There's a pretty decent lumber yard the next town over. I'll have to pay a visit when I have the chance and see if there's anything that moves me.

RCA jacks are installed. The shielding on the send side is lifted, which I'll probably forget when I get around to making the cables.

Image

I had to break off part of the PCB to make room, but there weren't any traces on that part of the board. The extra resistor and wires in the top left are part of the cathode follower modification. The red tape is to keep the shield from accidentally grounding out.

Image

Mockup with pine and piping.

Image
User avatar
JonnyAngle
IAMILFFAMOUS
IAMILFFAMOUS
Posts: 4233
Joined: Wed Feb 25, 2015 11:35 am
Contact:

Re: Blues Jr head project

Post by JonnyAngle »

CLONE HIGH? ARE YOU SERIOUS???

We are best friends now
User avatar
Adamadamadam
committed
committed
Posts: 114
Joined: Thu Apr 14, 2016 11:12 am
Location: The Land of Enchantment

Re: Blues Jr head project

Post by Adamadamadam »

:thumb:
User avatar
JonnyAngle
IAMILFFAMOUS
IAMILFFAMOUS
Posts: 4233
Joined: Wed Feb 25, 2015 11:35 am
Contact:

Re: Blues Jr head project

Post by JonnyAngle »

a clear front with the Tubes showing would be cool
User avatar
Adamadamadam
committed
committed
Posts: 114
Joined: Thu Apr 14, 2016 11:12 am
Location: The Land of Enchantment

Re: Blues Jr head project

Post by Adamadamadam »

That would be pretty cool, but the OT and spring tank will sorta' be in the way, and some of the under-the-hood work looks janky as hell. I'm about 60/40 in favor of trying to sell it once I'm done, so I want to play it somewhat safe in terms of design.
User avatar
hbombgraphics
IAMILFFAMOUS
IAMILFFAMOUS
Posts: 8654
Joined: Tue Aug 17, 2010 2:39 pm
Location: Central NY

Re: Blues Jr head project

Post by hbombgraphics »

this is killer,
are the pots on the junior board mounted? I heard this was an issue when working with these
Gunner Recall wrote:This thread is bad and everyone in it should feel bad.
Iommic Pope wrote:This thread is mediocre at best, but I encourage everyone posting in it to feel as awesome as possible.
https://soundcloud.com/hbombgraphics
User avatar
Adamadamadam
committed
committed
Posts: 114
Joined: Thu Apr 14, 2016 11:12 am
Location: The Land of Enchantment

Re: Blues Jr head project

Post by Adamadamadam »

They are. The transformers and power switch are the only non-board components in the B Jr. The tube sockets are on one board, the speaker and fat switch jack are on another, and everything else is on the main board. The pot bodies have tabs that clamp onto the board, which is reassuring in the sense that they're held on by more than the solder joints, but I can see it making them a pain to swap.

The bigger issue with the pots is that the wafer with the resistive strip is the pot's base and the shaft is connected directly to it, so if you bump the shaft hard enough you'll drive it through the pot's base. I'm pretty sure that the standard B Jr shipped with knobs that had a sort of shoulder washer to keep this from happening, but the limited editions with different colored knobs didn't. Hopefully they've fixed this in the years since?
User avatar
hbombgraphics
IAMILFFAMOUS
IAMILFFAMOUS
Posts: 8654
Joined: Tue Aug 17, 2010 2:39 pm
Location: Central NY

Re: Blues Jr head project

Post by hbombgraphics »

Adamadamadam wrote:They are. The transformers and power switch are the only non-board components in the B Jr. The tube sockets are on one board, the speaker and fat switch jack are on another, and everything else is on the main board. The pot bodies have tabs that clamp onto the board, which is reassuring in the sense that they're held on by more than the solder joints, but I can see it making them a pain to swap.

The bigger issue with the pots is that the wafer with the resistive strip is the pot's base and the shaft is connected directly to it, so if you bump the shaft hard enough you'll drive it through the pot's base. I'm pretty sure that the standard B Jr shipped with knobs that had a sort of shoulder washer to keep this from happening, but the limited editions with different colored knobs didn't. Hopefully they've fixed this in the years since?

I hope so, when I owned one I never touched the guts on it because I had read so many online warnings from people who had just torched em, not a modders dream amp, which means bonus points for you on the head rehouse
Gunner Recall wrote:This thread is bad and everyone in it should feel bad.
Iommic Pope wrote:This thread is mediocre at best, but I encourage everyone posting in it to feel as awesome as possible.
https://soundcloud.com/hbombgraphics
User avatar
Adamadamadam
committed
committed
Posts: 114
Joined: Thu Apr 14, 2016 11:12 am
Location: The Land of Enchantment

Re: Blues Jr head project

Post by Adamadamadam »

hbombgraphics wrote:I had read so many online warnings from people who had just torched em, not a modders dream amp, which means bonus points for you on the head rehouse
Chalk it up to youthful hubris, but I'll take credit nonetheless.

And I dunno, it seems like a great modding platform to me: it's fairly inexpensive, all the components are through-hole, there's plenty of room between components if you want to add stuff, it's a pretty simple circuit, and it isn't really interesting enough on its own to discourage you from messing with it.
Post Reply