Page 57 of 409
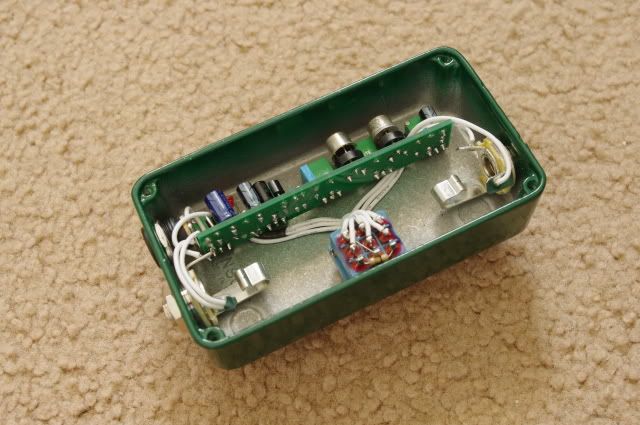
Re: Let's see your finished DIY projects!
Posted: Tue May 10, 2011 2:52 pm
by kosta
warwick.hoy wrote: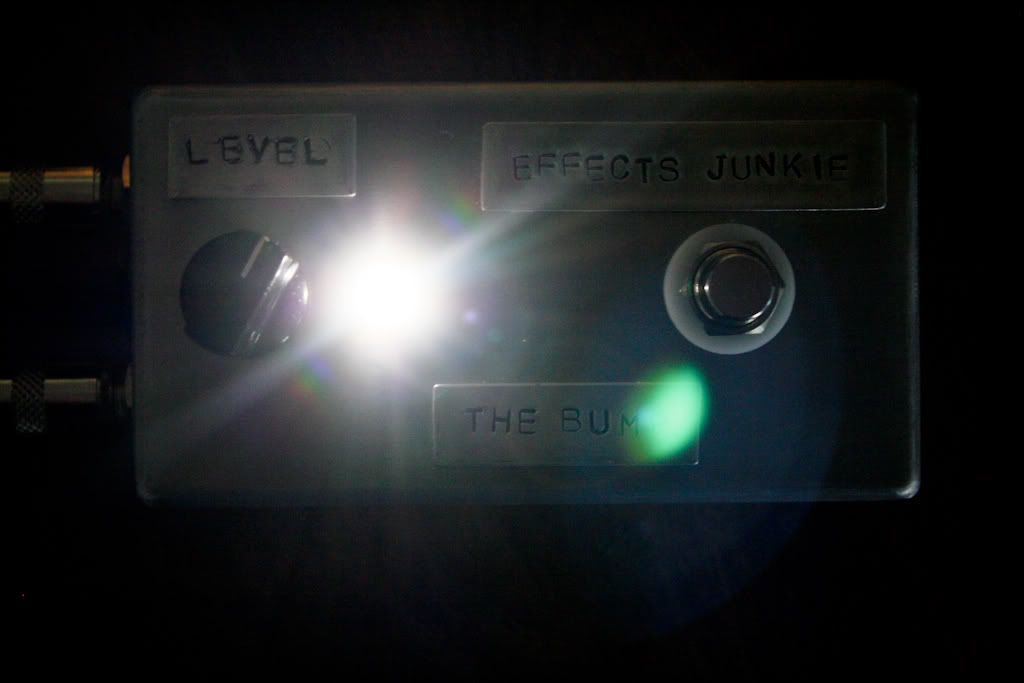
Loving the look of this one.
Re: Let's see your finished DIY projects!
Posted: Tue May 10, 2011 3:12 pm
by Dandolin
Culture Jam Whisker Biscuit said, "fnord."

Re: Let's see your finished DIY projects!
Posted: Tue May 10, 2011 3:32 pm
by warwick.hoy
kosta wrote:warwick.hoy wrote:
Loving the look of this one.

I wish it was more substantive than just a simple clean boost. I'm not dead set on stamping the plates,...but the Die Cast Aluminum is a little too hard to take the stamps. Maybe if I had a bigger hammer. I don't like how much the soft plates come up off the enclosure. The only problem is that If I make a mistake,...I'll spend more time sanding the enclosure trying to make up for it,..or I'll just blow the enclosure. When done right it's a classy look though.
http://www.diystompboxes.com/smfforum/i ... ic=66728.0I really like Freq Centrals etching. I have no idea how that's done though. Sandblasting? Laser Etching?
Re: Let's see your finished DIY projects!
Posted: Tue May 10, 2011 6:48 pm
by frequencycentral
warwick.hoy wrote:I really like Freq Centrals etching. I have no idea how that's done though. Sandblasting? Laser Etching?
Thanks! Regarding enclosure etching. Print your graphic using a laser printer onto inkjet glossy photo paper. Sand the enclosure's surface to be etched dead flat - I tape wet and dry to my workbench and rub the enclosure until it's totally smooth. Clean with alcohol or nail varnish remover. Then iron on the graphic image using a household iron- 4 minutes on low to get the toner cooking, 8 minutes on high. Leave the enclosure to cool, peel off the paper. Just the toner will be left on the enclosure, maybe with a few areas where the toner hasn't completely tranferred - these can be patched up with nail varnish. Mask the sides of the enclosure with masking tape. Immerse in FeCl for x minutes, x will depend on the strength of your FeCl. Agitate constantly. Remove from FeCl. Wash in water. Remove toner using wire wool. Paint the etched areas, sand off excess paint while immersed in water. That's pretty much it. Takes a bit of practice to get right. Very rewarding. I learned from my good friend Fernando Ruz, who is THE etchmaster IMO.
Photo Tutorial PDF:
http://dl.dropbox.com/u/3565959/%5BTuto ... tching.pdfDIYSB Tutorial Thread:
http://www.diystompboxes.com/smfforum/i ... ic=80962.0
Re: Let's see your finished DIY projects!
Posted: Tue May 10, 2011 7:26 pm
by warwick.hoy
frequencycentral wrote:warwick.hoy wrote:I really like Freq Centrals etching. I have no idea how that's done though. Sandblasting? Laser Etching?
Thanks! Regarding enclosure etching. Print your graphic using a laser printer onto inkjet glossy photo paper. Sand the enclosure's surface to be etched dead flat - I tape wet and dry to my workbench and rub the enclosure until it's totally smooth. Clean with alcohol or nail varnish remover. Then iron on the graphic image using a household iron- 4 minutes on low to get the toner cooking, 8 minutes on high. Leave the enclosure to cool, peel off the paper. Just the toner will be left on the enclosure, maybe with a few areas where the toner hasn't completely tranferred - these can be patched up with nail varnish. Mask the sides of the enclosure with masking tape. Immerse in FeCl for x minutes, x will depend on the strength of your FeCl. Agitate constantly. Remove from FeCl. Wash in water. Remove toner using wire wool. Paint the etched areas, sand off excess paint while immersed in water. That's pretty much it. Takes a bit of practice to get right. Very rewarding. I learned from my good friend Fernando Ruz, who is THE etchmaster IMO.
Photo Tutorial PDF:
http://dl.dropbox.com/u/3565959/%5BTuto ... tching.pdfDIYSB Tutorial Thread:
http://www.diystompboxes.com/smfforum/i ... ic=80962.0

Slade's dropbox pdf isn't downloading for me. I'll float around and see if I can't get it to work. Is this called photo etching then? Such a clean and classy look.
Re: Let's see your finished DIY projects!
Posted: Tue May 10, 2011 8:27 pm
by LaoWiz
frequencycentral wrote:^^^^
That first photo was a teaser..........here's some more now it's finished:


Awesome! The tube cages are amazing. How much for that one?
Re: Let's see your finished DIY projects!
Posted: Tue May 10, 2011 11:07 pm
by Scruffie
Not quite finished but I just spent the evening having a mammoth soldering session before I try and move away from the hobby... just one (Secret) massive pedal left to do tommorow... but you'll never find out what it is! Muwahahaha.
Left to Right...
Top Row - DOD 230 Noise Gate, Small Clone, FET Distortion, Acoustic Simulator Pedal & a Bad Stone Phaser
Bottom Row - A/DA Flanger & 9V Electric Mistress.
Re: Let's see your finished DIY projects!
Posted: Tue May 10, 2011 11:43 pm
by tuffteef
i still havnt built my bad stone phaser
Re: Let's see your finished DIY projects!
Posted: Tue May 10, 2011 11:50 pm
by Scruffie
tuffteef wrote:i still havnt built my bad stone phaser
Awww, you should, this isn't my first one, it's a great sounding phaser, I don't even really like phase that much but love this one... really wanna make a mini version to fit a 1590B.
Re: Let's see your finished DIY projects!
Posted: Wed May 11, 2011 12:14 am
by Jero
Scruffie wrote:tuffteef wrote:i still havnt built my bad stone phaser
Awww, you should, this isn't my first one, it's a great sounding phaser, I don't even really like phase that much but love this one... really wanna make a mini version to fit a 1590B.
Are there any of those still available?...goes and checks site...
Re: Let's see your finished DIY projects!
Posted: Wed May 11, 2011 12:42 am
by Scruffie
Jero wrote:Scruffie wrote:tuffteef wrote:i still havnt built my bad stone phaser
Awww, you should, this isn't my first one, it's a great sounding phaser, I don't even really like phase that much but love this one... really wanna make a mini version to fit a 1590B.
Are there any of those still available?...goes and checks site...
If there are it's like... one or two i'd guess by now.
Re: Let's see your finished DIY projects!
Posted: Wed May 11, 2011 1:59 pm
by frequencycentral
LaoWiz wrote:frequencycentral wrote:^^^^
Awesome! The tube cages are amazing. How much for that one?
Thanks, that one is sold, but the price is £250 GBP plus shipping, or £230 GBP plus shipping if you supply the tubes. One 12AX7, one 12AU7.
Re: Let's see your finished DIY projects!
Posted: Wed May 11, 2011 2:26 pm
by frequencycentral
Re: Let's see your finished DIY projects!
Posted: Wed May 11, 2011 3:14 pm
by Heavy_Soul
Oh my oh my
Re: Let's see your finished DIY projects!
Posted: Fri May 13, 2011 8:38 pm
by ARC Effects
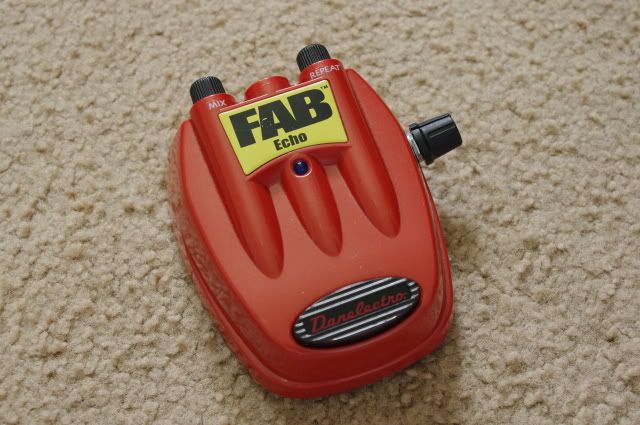
Added a Time knob to a Fab Echo
Some more GE fun (knobs left to one of my favorite settings on it)


